Have you seen some stories on Instagram in which multiple photos are added at once like a collage? Well, this is not done by any photo editing app, instead Instagram has this feature in its story editor called photo sticker which lets you add multiple photos as an overlay image on one single story.
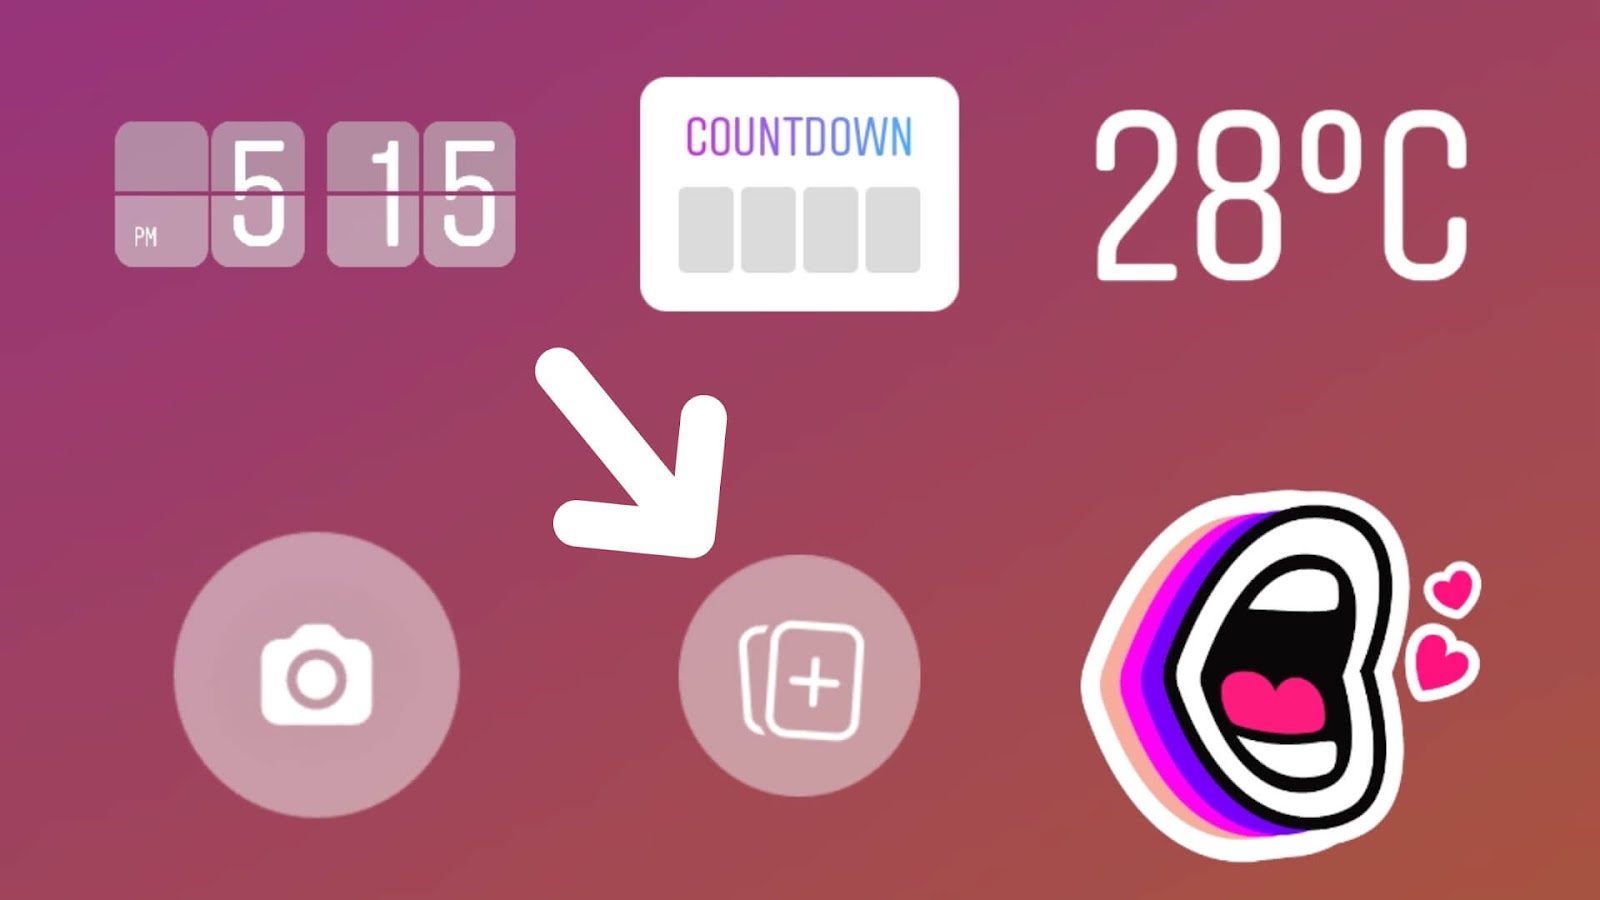
Sometimes you need to post more than one picture on your Instagram story. Although you can post them separately but it’s a tedious task. When you have mulitple pictures to post, it is always better to create a photo collage. One single story will definitely reach more people as compare to posting each photo in a separate story.
In this article, we will show you how to use Instagram photo sticker to add multiple pictures in one single story. This feature is missing on some Android smartphones. If you are also facing that issue, then we have shared a workaround to add photo sticker on Instagram using copy and paste method with Swiftkey keyboard.
Table of Contents
How to add photo sticker on Instagram story
You can access multiple photos feature under the stickers on Instagram story editor. Before moving to the steps, please make sure that you are using the latest version of Instagram app. This step-by-step guide will show you how to use Instagram photo sticker –
- Open the Instagram app on your iPhone or Android smartphone.
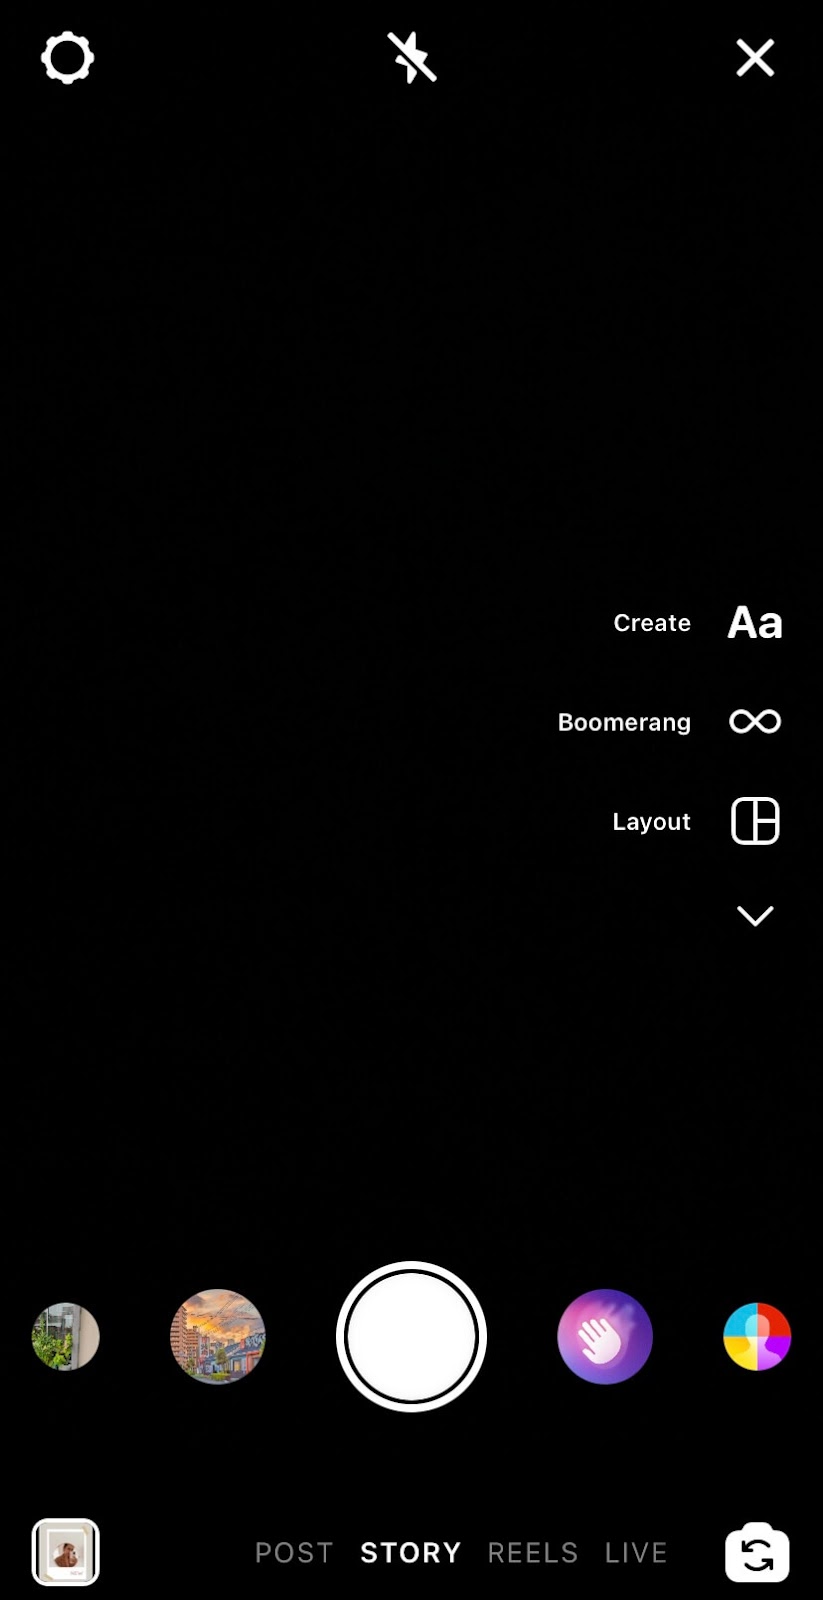
- Tap Your Story at the top-left corner to add a new story.
- Now click a new picture, create a text story, or load a photo from your gallery or camera roll. This will be used as a background.
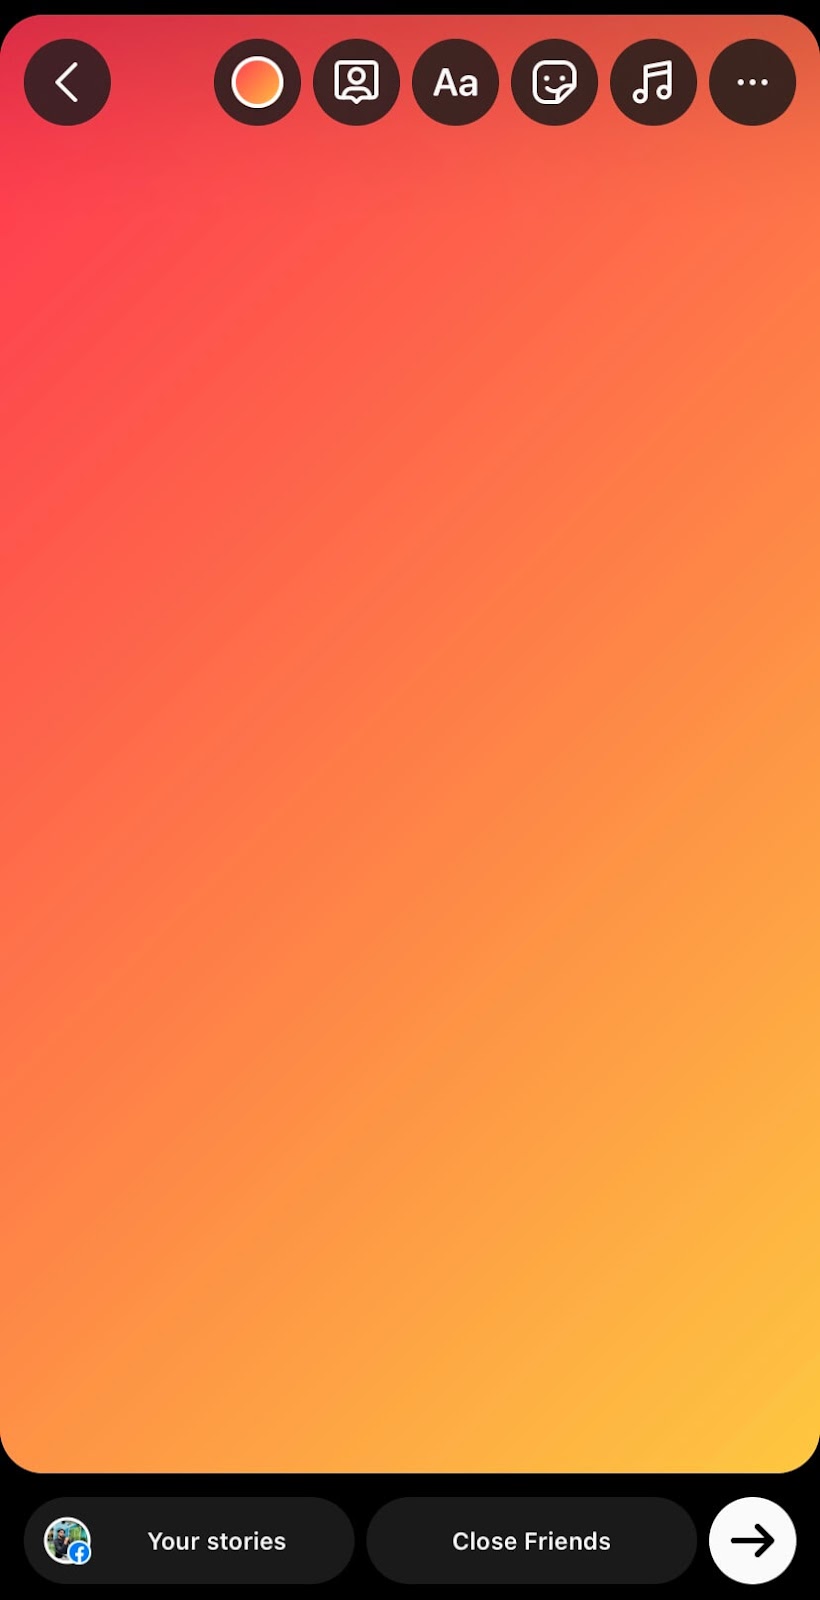
- Tap sticker option (smiley icon) at the top on the story editor screen.
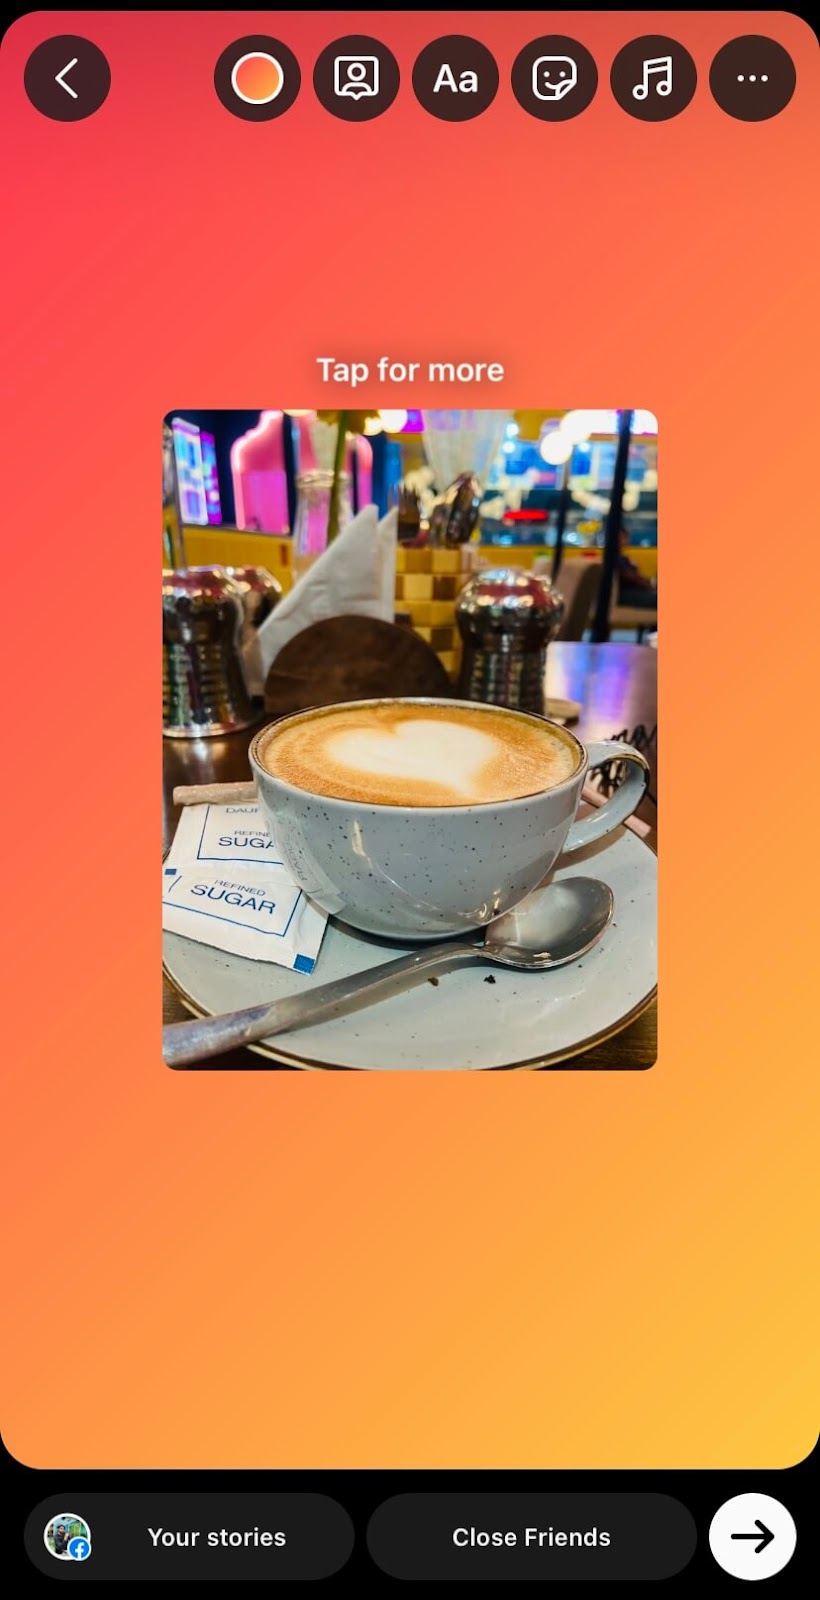
- Now click on photo sticker and then select the photo you want to add as an overlay image.

- You can tap on the photo to change its design. There are various shapes available such as round corners, circle, heart, star, square, and default. You can adjust the photo sticker size by pinch and zoom method. Also, drag it change its position. You can add other photos as sticker with the same method.
- Further edit your story by adding music, text, stickers, and GIFs. Once you have done everything, click on Your Story to share it on your Instagram finally.
Fix Instagram photo sticker missing on Android
Some Android users may not find photo sticker on their Instagram story. This feature is fairly new and Instagram is still in the process of rolling it out to all devices. If Instagram photo sticker is also missing issue on your Android phone, then try updating the Instagram app from Google Play Store. You will get this feature on your Instagram if not now then maybe in the nearby future. Just make sure that to keep your app updated to the latest version. As of now, you can use an alternative method to add photos as sticker on your Instagram story by using Swiftkey keyboard on Android.
Using Swiftkey keyboard to add photo sticker on Android
This workaround uses Swiftkey keyboard to copy and paste photos from your gallery on Instagram story manually. Swiftkey is the most popular keyboard app for Android which provides a unique feature to create stickers. If Instagram photo sticker is not available for you, then you can use this app to add multiple photos as sticker on your story. Here’s how you can do that –
- Download and install the Swiftkey Keyboard app on your Android phone. This app is available on Play Store for free. Once you have installed it, open and set it as your default keyboard.
- Now launch Instagram app and create a new story. Simply, tap on Your Story option at the top-left corner and then load the background photo you want to use.
- On the story editor in the next screen, tap on Aa (text option) from the options available at the top. This will open the keyboard to let your write text. If it’s not Swiftkey keyboard, then go to your phone keyboard settings and change it.
- Click smiley icon on the Swiftkey keyboard at the bottom-left corner.
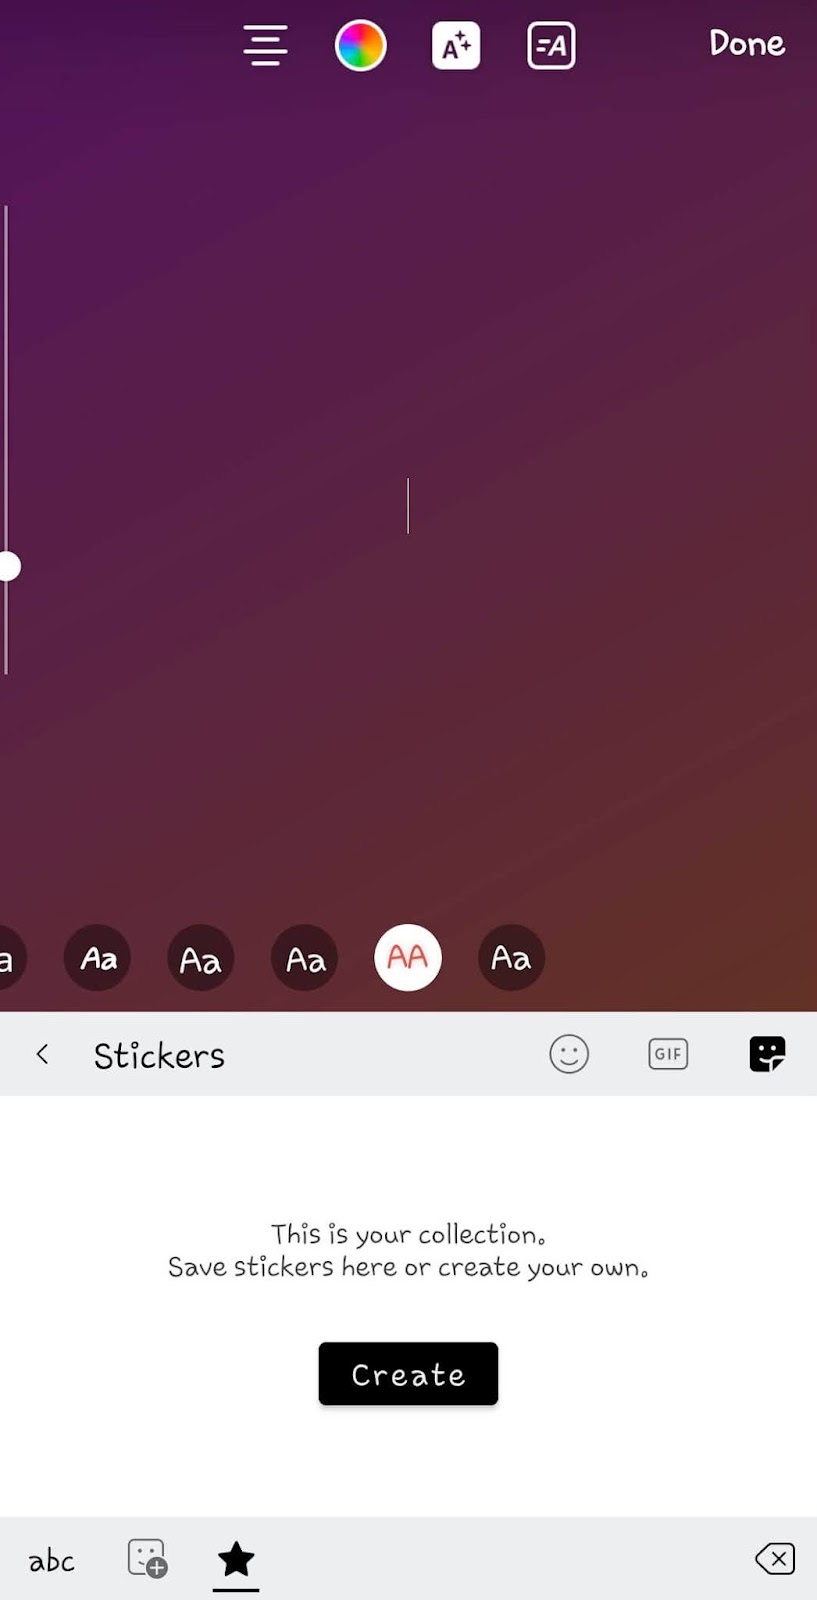
- Now click on star icon and then tap the Create button. You can now select any photo from your gallery.
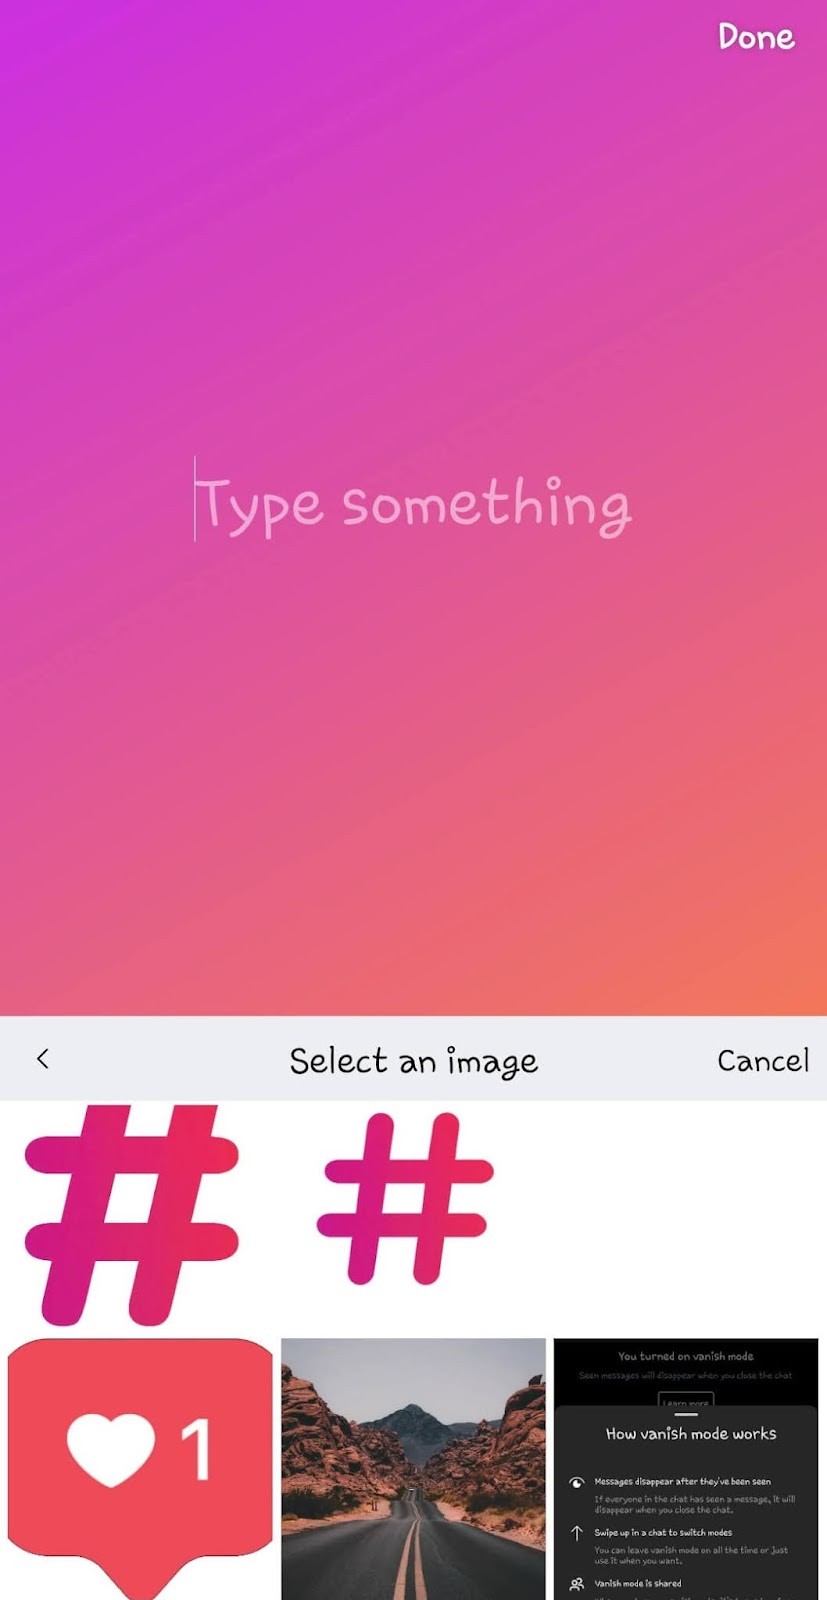
- Tap the Send button on Swiftkey keyboard and it will add that photo as sticker on your Instagram story.

Using copy & paste method to add photo sticker on iPhone
Although Instagram photo sticker is working fine on iPhone/iOS but there is another way you can use it with copy and paste method. The Photos app on iPhone has a feature to copy the photo to clipboard. After that, you simply need to paste it on your Instagram story like a normal text. Just follow these simple steps for this method –
- Open the Photos app on your iPhone and then find the picture you want to add as sticker on your Instagram story.
- Click the upload/share icon at the bottom-left corner on the photo. It’s a small square with an arrow pointing in the upward direction.
- Now click on Copy Photo option.
- After this, open the Instagram app and create a new story by clicking on Your Story option. Next, choose the background photo from your camera roll or take a new picture.
- Once you are in the story editor screen, tap the Aa text option at the top and then paste the photo you have copied from Photos app. Instagram will automatically paste it, if not, then long-press on the screen and click Paste option.
- Now you will see your picture added as sticker. Tap on it to change its design, make other edits you want to in your story and finally share it.
Instagram photo sticker is a great feature to create a collage of your pictures and post them in a single story. You don’t have to use any photo editing app for this task. Instagram is adding more and more features to stories everyday. We hope you find this guide helpful to use photo sticker on Instagram story. If this feature is missing on your Android phone, you can always use the workaround we have shared in this tutorial. Let us know if you are facing any problem in the comments below.


