Now that you have got an idea about the importance of image SEO optimization, you might be thinking about how you can actually make your images seo-friendly in Blogger. Basically, the concept of image optimization is directly related to the keywords.
You will need to find the relevant keywords of the image and then add them in it to describe what the image is about – it’s quite simple to do that. Here we have shared some useful tips that can help you to optimize your images for SEO on your Blogger blog/website.
Table of Contents
1. Add keywords in the image file name
The image optimization starts from adding keywords in the file name of the images before uploading them on your blog. Normally, the pictures that you download from the internet or create yourself by editing doesn’t contain relevant keywords in their file name.
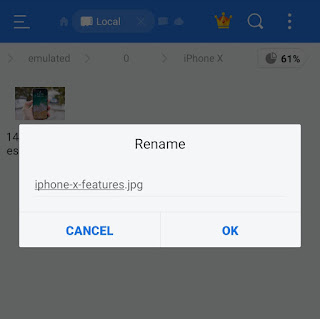
Now let’s take an example of a blog post in which you are telling the features of the new iPhone X. The main keywords to target in this blog post are iPhone, X, and features. You have to add these targeted keywords in the file name of the image.
Simply, rename the file and type the keywords by adding – (dash) symbol between them like this: iphone-x-features.jpg. Don’t add space as it is converted to %2B code when you upload the image on your blog.

2. Compress your images
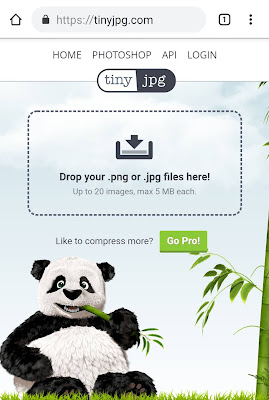
The second most important thing to optimize your images is to compress them. This will also speed up the page load time of your blog. There are a number of online tools that you can use to reduce the size of your images without affecting their quality.

We will recommend you to use TinyJPG.com, which is one of our favorite and most powerful image compress tool. It allows you to upload multiple images at the same time. You can also read our guide on how to compress images on your Android phone without reducing quality.
3. Add ALT text
The alt is an attribute used in the img HTML tag to provide alternative information of an image. This information is displayed when the image can’t be loaded due to some reasons such as slow internet connection or incorrect image URL.
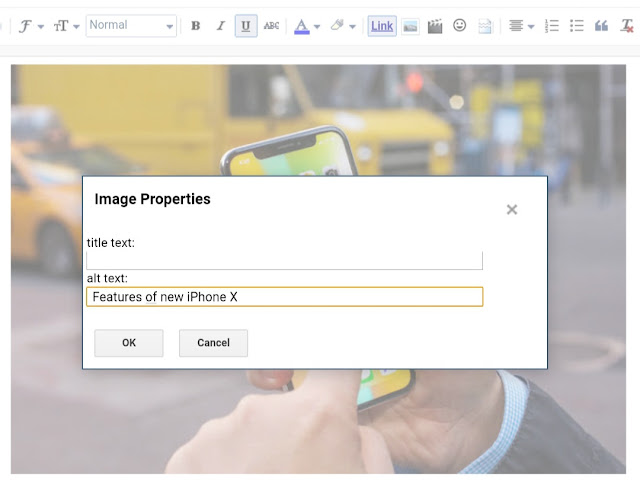
The alt attribute basically describes what the image is about. It also improves the SEO of your images. Blogger provides an option in the properties of the image which allows you to add alt text directly without adding it manually in the img tag.
Once you have uploaded the image on your blog, tap on it and then click the Properties option.

Now a pop-up box will open where you can add the alt text to your image.

Simply, describe what the image is about and make sure to add keywords in it. As in the previous example, you can write “Features of new iPhone X” in the alt text.
4. Add title text
The title is another attribute that can be added to the image tag in HTML. It is used to provide extra information about an image that is displayed when a user moves their mouse over the image.
Like alt text, you can also add a title to the image directly from the Properties option in Blogger. While writing the title, you have to describe your image and add relevant keywords in it.
5. Add image caption (optional)
You might have seen a small piece of sentences written below an image on some blogs which explain the subject of the image – this is called image caption. Adding a caption to your images isn’t necessary but you can do it if you want to explain something about an image specifically.
To add a caption to your images in Blogger, simply tap the image and click on the “Add caption‘ option.

- Also read: How to add SEO robots meta tags in Blogger
So these are some tips that can help you to optimize images on your Blogger website and make them more seo-friendly. If we have missed something you know about image optimization, you can share it with us in the comment section below.