Sometimes you might face problem while sharing files between Android and iPhone via SHAREit. iOS doesn’t work the same way as Android operating system. Unlike Android, you need to connect your iPhone to a WiFi hotspot connection manually.
This tutorial will guide you how to setup SHAREit between Android and iPhone.
Connect SHAREit between Android & iPhone
It is undoubtedly true that iOS is far better than other operating systems when it comes to security. For this reason, it prevents your iPhone to setup automatic connection with an Android device while sharing files via SHAREit.
To solve this problem, you just have to connect your iPhone to the Wi-Fi hotspot connection manually. Here’s a step-by-step guide to share files between iPhone and Android via SHAREit –
- First, open SHAREit app on both the smartphones.
- Now tap “Send” button on the sender’s phone and “Receive” button on the receiver’s phone.

- Select photos, videos and other files that you want to share. Then, tap “Send” button on the sender’s phone.
- On your Android phone, click “Connect to iOS/WP“. On the other hand, click “Connect to non-iOS” on your iPhone.
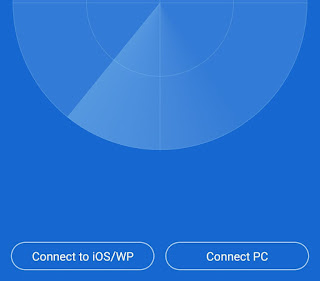
- Now your Android phone will create a personal hotspot connection. You just have to connect your iPhone to that network. Simply go to “Settings > Wi-Fi” and select the Wi-Fi network connection that is created by your Android device. You may be asked to enter the password if the connection is password-protected.

- Once your iPhone has connected to the network, open SHAREit app again and tap the avatar icon on search screen to send the files. That’s it.
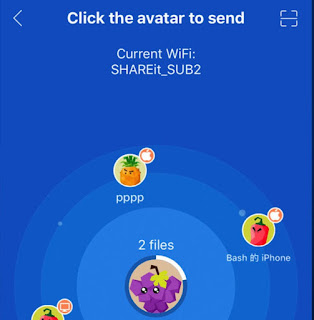
This way, you can easily send photos, videos, songs and documents from Android to iPhone or iPhone to your Android device.
You can find the received files within the SHAREit app on your iPhone. In case of Android, the received files are saved in SHAREit folder which you can access using any file manager app.
We hope you find this guide helpful. If you have any questions in your mind, feel free to share them in the comment section.

